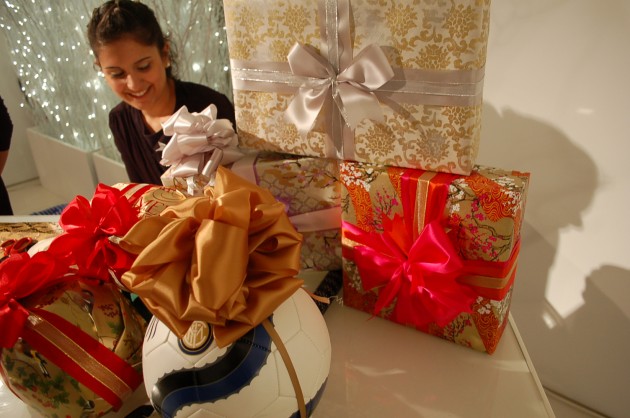
The Helena Bonham Carter of bows, seen here on the football
Continuing our Martha Stewart inspired craft lessons, we bring you the fluffy present bow.
We learnt this at a Harrods masterclass on wrapping presents (yes, we’re still doing Christmas in July) and as TWR reader @cesca_muston, who was also at the class said, ‘it’s the Helena Bonham Carter of ribbon bows’; slightly dishevelled but interesting and eccentrically stylish. I think you need to know how to make this too, as it will make you the envy of your friends. Really. I mean how many people do you know who can tie a good bow on a present? Let alone a giant fluffy, quadruple- layered bow?
 The delightful Harrods present wrapping team who demonstrated this bow to us mentioned it was very useful as a ‘statement bow’ to add to things too large to wrap, like TVs, cars or ponies (I think the team said they once used it on a fish, but I might have got that wrong).
You will need
A considerable amount of wide satin ribbon. Harrods used gold, which is suitably festive, but any colour will do. It needs to be firm, but still soft to handle.
A small piece of thinner ribbon. This will be the anchor for attaching the bow to the present
Scissors. Harrods had both paper and ribbon scissors, but they are posh.
Patience. Harrods suggested you had an assistant to help, perhaps the housekeeper?
Method
Fold the ribbon, satin side outwards into a 15cm loop, and then wrap another 4 turns of ribbon around so you have a fat, flat, tidy loop. Cut the ribbon at the end of the loop and then press it flat with your hands.
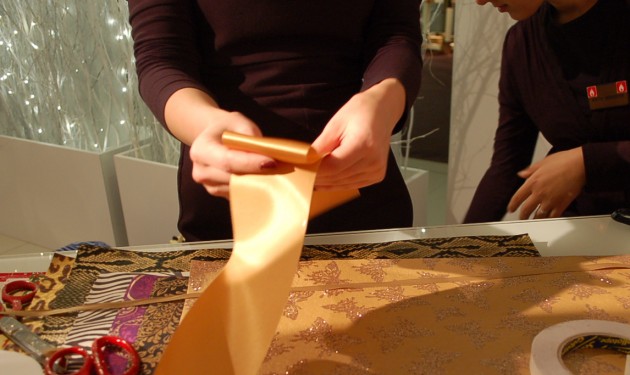 Hold the loop in the centre and pleat the middle up in a couple of folds and tie (with the thinner ribbon) a very tight, firm knot in it, securing the pleaty look.
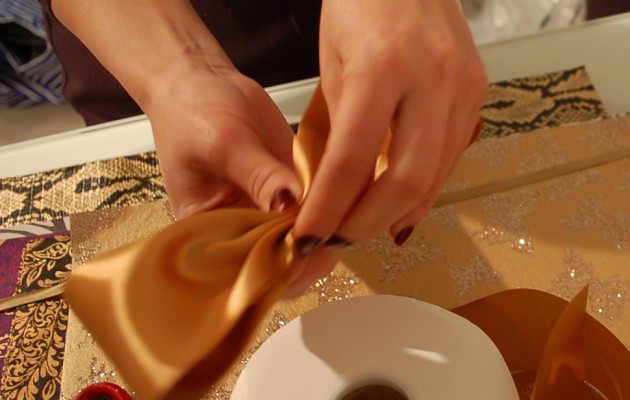 Repeat the ribbon loop thing again with more ribbon, only make this loop a centimetre longer, pleat it up again as before and tie it on top of the last bow at right angles. Remember to tie this tightly or you’ll have a soggy bow.
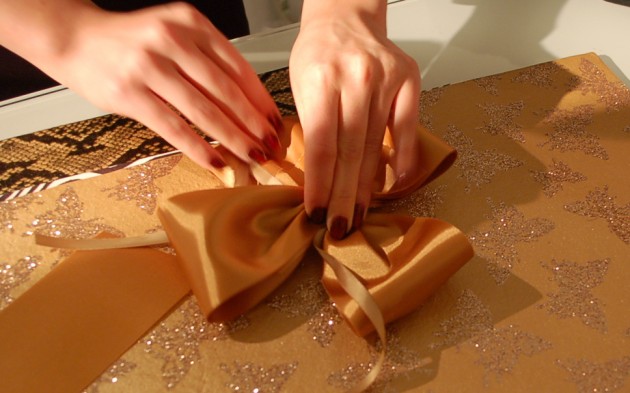
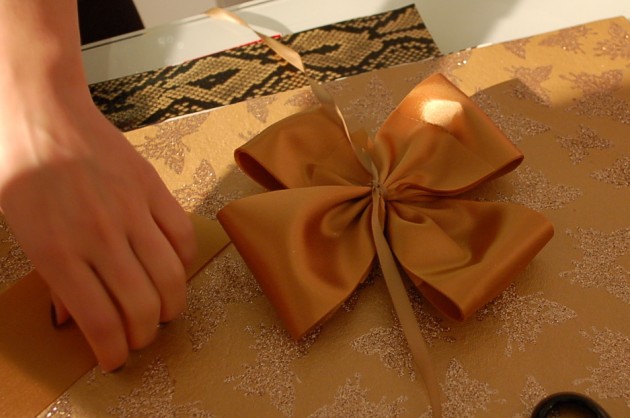 Repeat this twice more, making the loops a wee bit longer each time and placing each new loop at an angle to the last, in a sort of Union Jack of crossed ribbon loops. I think four lots of loops is enough to start with, but Harrods did say that you could add as many as ten loop sections for a really over-the-top bow.
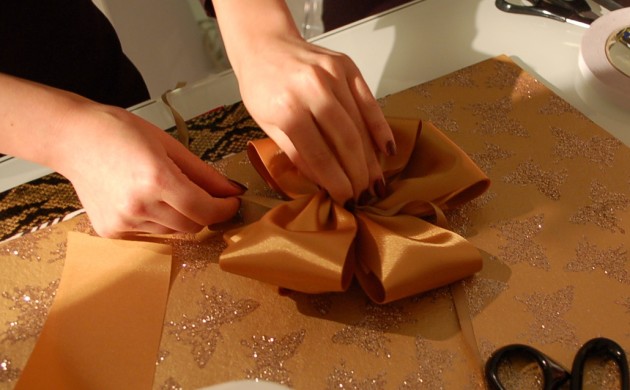 Turn the whole thing over, so the knot and free strands of thinner ribbon are at the bottom of the bow.
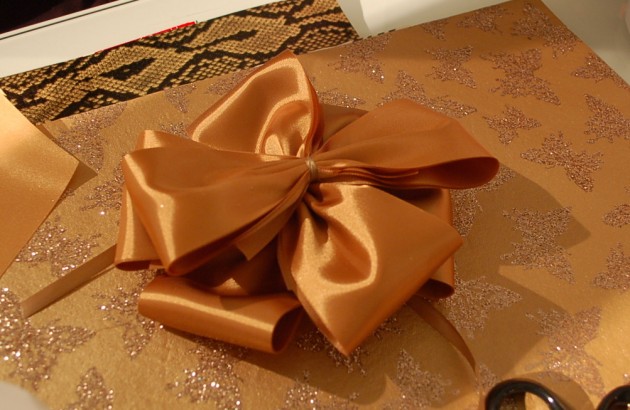 Now, starting from the top, pull each bow loop section apart by spreading the individual loops and tugging them away from each other, continue through the loops until you have a giant, ball shaped bow. Look carefully at the pictures here as I’m not sure I’ve described this terribly well. Because you’ve tied the smaller ribbon tightly, you can be quite tough with the pulling apart of the loops.
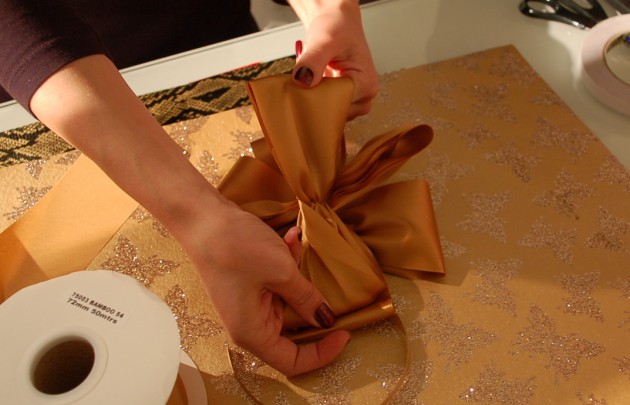
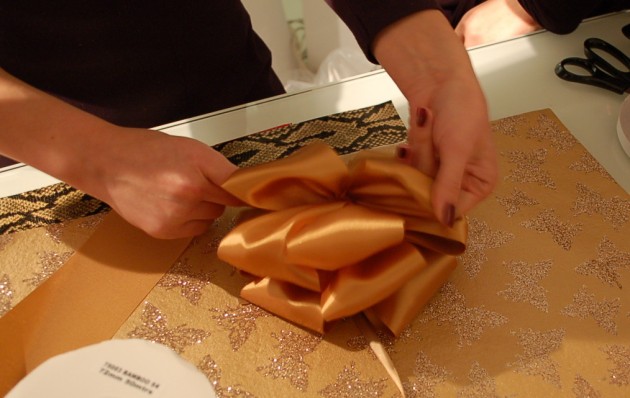 And Voila! The fluffy bow is ready to attach to a passing puppy, I think Martha would be proud, although with a bow as beautiful as this, it is possible the present may be something of an anti climax.
Do leave comments if you have questions on technique or if you have your own bow-tying ideas.

